Welcome to the TTSCpedia (beta)! This wiki is the successor to the FANDOM/Wikia version! You may create an account on the new wiki during the Public Beta stage and begin editing. Please see the to-do list here. Any content from the FANDOM/Wikia wiki will not be transferred automatically, such as pages, and accounts. That must be done manually by the end user, being you. |
Limited Feature Set Many TTSCpedia features are currently semi-broken due to regressions introduced with the MediaWiki upgrade. We hope to be fully operational again soon. The MonoBook skin has temporarily been set as the default skin due to Cali not being fully ported to the new version of MediaWiki. |
Starter Kit/Tutorial: Animating using Keyframes (Sony Vegas)
Migration from Wikia still in progress This page hasn't been fully ported over to the TTSCpedia yet. Expect this page to have broken links and/or missing material. |
Information possibly Outdated The information on this page might possibly be outdated. If you were the original writer of this page, it is highly recommended to update the page if possible. |
In this tutorial, I will show you how to animate using keyframes (start/end "frames" in a smooth animation). Like my last tutorial, I'll be using Sony Vegas Pro 10 for this.
Things To Note
- The keyframe method is really only good for basic scale/transformation/rotation animation.
- If you want to add rotation to your animation, do it all on the last keyframe.
- Multiple rotations of the same image are "recorded" between the start keyframe and the end keyframe.
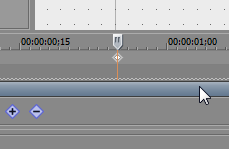
- If you navigate to a frame that doesn't have a keyframe indicator on it, one will automatically be created if you adjust the image.
Tutorial
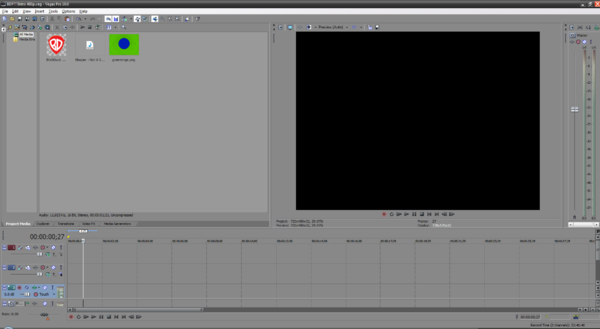
1. In Sony Vegas, load your .veg file (or start a new one if you do not have one).
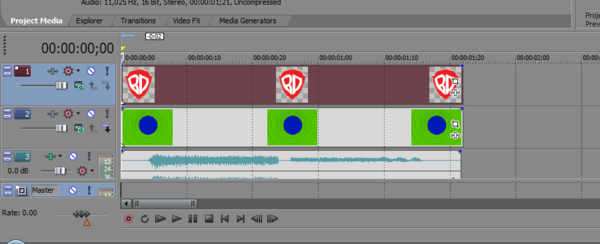
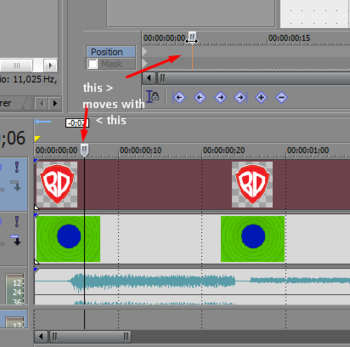
2. Place and align your files. Make sure the thing you want to animate is in the correct track! (In this instance, the first track has the file we're going to add the keyframes to.)
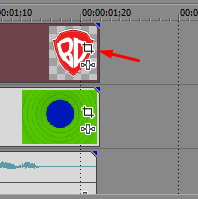
3. Click this icon. A dialogue will pop up.
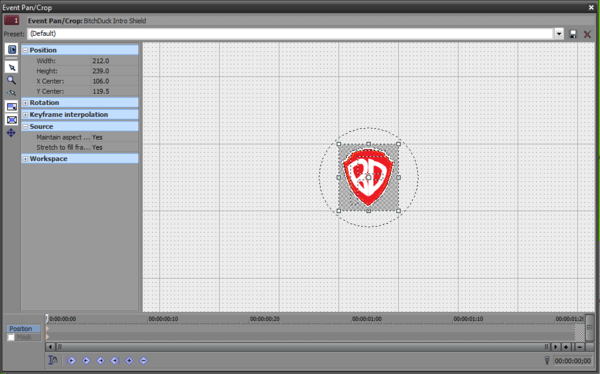
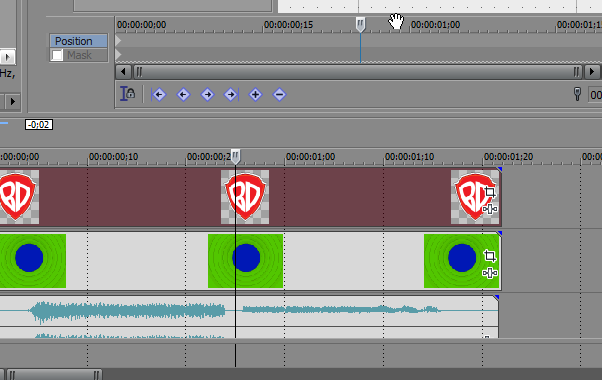
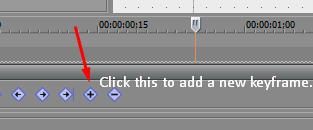
4. Navigate to the END of your animation (it doesn't have to be the length of the entire clip) and set a keyframe there.
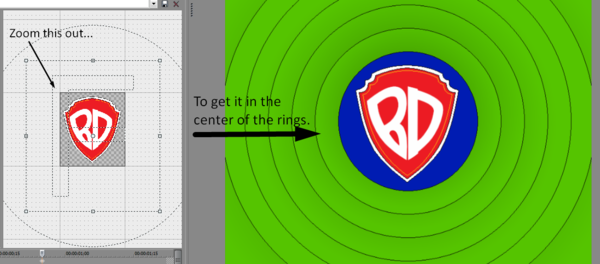
5. Adjust this keyframe so that the image looks like what it should look like at the end of your animation.
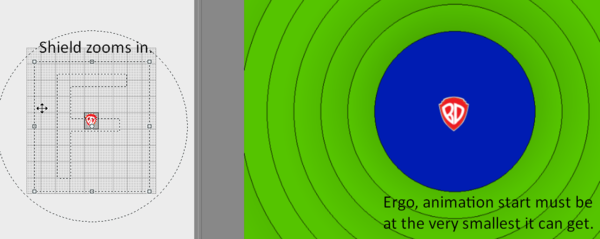
6. Go to the keyframe that starts your animation. Set it to look as it should at the start.
7. Once that's done, press play and watch the animation!
